
Have you ever considered what would happen if you could no longer see the road clearly at night, and more critically, if other drivers could no longer see you? Car lighting system care is one of the most critical yet frequently overlooked aspects of vehicle maintenance, and neglecting it places every journey at unnecessary risk. Your headlights, taillights, brake lights, and turn signals form an integrated communication system between you and every other participant in traffic. When even one component fails or degrades, you reduce your safety margin and risk legal consequences in jurisdictions where defective lighting constitutes a finable offense. Explore the full range of automotive and home lighting guidance at Linea's lighting resource center.
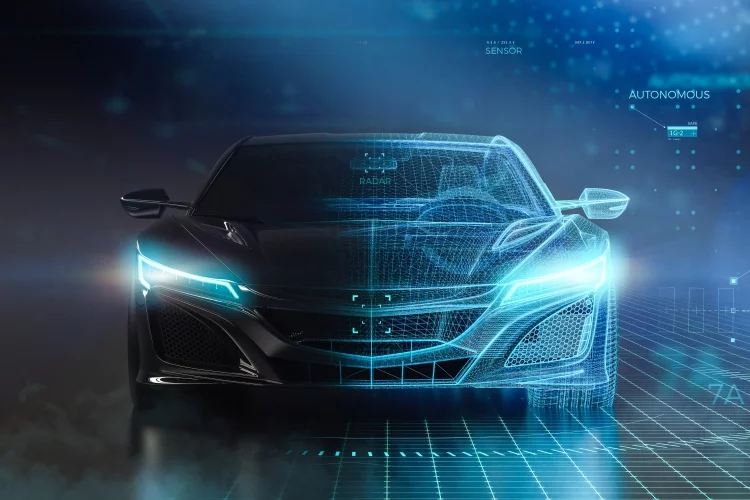
Your vehicle's lighting system encompasses far more than the two beams projecting from the front. Fog lights, reversing lights, interior dome lights, dashboard indicator lamps, and side marker lights all contribute to a complete safety envelope surrounding the vehicle. According to Wikipedia's overview of automotive lighting, modern vehicle lighting systems must balance legal photometric standards, driver visibility, and glare reduction for oncoming traffic — a complex engineering challenge that demands equally diligent upkeep from vehicle owners.
This guide walks you through every aspect of maintaining, diagnosing, and improving your car's illumination system, from simple inspection routines you can complete in minutes to advanced procedures that require professional intervention. Whether you already practice regular vehicle maintenance or are approaching this topic for the first time, the information below gives you actionable, precise steps for keeping every light operating at full capacity.
Contents
Your vehicle's lighting system serves two distinct purposes simultaneously: illuminating the road ahead so you can navigate safely, and signaling your presence and intentions to every other road user around you. Each component occupies a defined role in this system, and a failure in any single element degrades the whole network of communication your vehicle maintains with surrounding traffic.
Operating a vehicle with defective or non-compliant lighting constitutes a moving violation in virtually every jurisdiction, subject to fines and potential vehicle impoundment. Most road safety authorities mandate minimum candela output levels, correct color spectrum for each position, and functioning turn signals as prerequisites for roadworthy certification. A consistent care routine makes failing a safety inspection due to lighting defects entirely avoidable, saving you both money and inconvenience.
Establishing a structured inspection routine is the foundation of effective car lighting system care. Perform a full walk-around inspection every month by following this precise sequence:
Incorporating this inspection into your broader vehicle maintenance schedule ensures no component is overlooked over time. If you practice structured home care routines as well, consider pairing your vehicle lighting check with your spring cleaning checklist for a thorough annual review of both household and vehicle systems simultaneously.
Polycarbonate headlight lenses oxidize progressively when exposed to ultraviolet radiation, road debris, and chemical pollutants, producing the characteristic yellowed, hazy appearance that reduces effective light output by up to 80 percent in severely degraded units. Restore clarity through these precise steps:
For vehicles stored primarily outdoors without cover, repeat the full restoration process every six to twelve months and reapply UV sealant every three months to maintain maximum light transmission efficiency through each season.
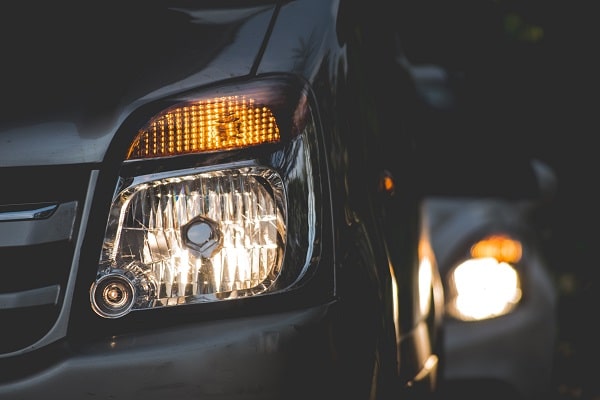
Flickering lights indicate an unstable electrical connection rather than a fully failed bulb in the majority of cases. Work through this diagnostic sequence before purchasing replacement components to avoid unnecessary expenditure:
Persistent flickering after addressing these points often indicates a failing alternator or voltage regulator delivering unstable current to the entire electrical system, which requires professional diagnosis and is beyond the scope of DIY repair.
Dim headlights that pass inspection but deliver noticeably less illumination than when new result from three concurrent factors acting simultaneously: lens oxidation blocking light transmission, aged filaments that have partially degraded within their service life, and accumulated interior lens contamination from repeated condensation cycles. Address each factor independently rather than replacing components prematurely — clean lenses first and test output before proceeding to bulb replacement. Understanding how visibility reduction affects driving performance is worth examining alongside data on how vehicle speed and road conditions interact in practical driving scenarios where reaction time is limited.
Several persistent myths prevent drivers from practicing effective car lighting system care. Identifying which commonly held beliefs are factually incorrect allows you to make better-informed maintenance decisions for your specific vehicle.
Replacement is the correct course of action in these specific, clearly defined scenarios where cleaning or restoration cannot restore functional performance:
When replacing bulbs, always replace both units in a matched pair simultaneously — headlights, taillights, and fog lights degrade at approximately equal rates, meaning a single replacement leaves you with mismatched output that signals the second unit is approaching its own failure threshold imminently.
Cleaning alone resolves the underlying problem and restores adequate performance in the following scenarios without requiring any component replacement at all:
Maintaining clean lenses also extends the service life of installed bulbs by ensuring thermal dissipation occurs as the housing manufacturer intended, preventing heat concentration that accelerates both filament and LED driver degradation. This same principle — that regular cleaning extends the functional life of components — applies equally to household equipment, as demonstrated by guidance on extending vacuum component life through consistent cleaning routines.
If you are new to vehicle maintenance, these foundational practices establish a solid baseline for car lighting system care without requiring specialized tools, technical training, or significant financial investment:
Experienced vehicle owners comfortable with basic electrical and mechanical procedures can extend their lighting maintenance to these more technically demanding operations:
Selecting the correct replacement bulb technology requires a clear understanding of the operational characteristics, maintenance demands, and cost profile of each available option on the market today. The comparison table below presents verified performance data to support your selection decision.
| Bulb Type | Rated Lifespan (hours) | Light Output (lumens) | Energy Consumption (watts) | Maintenance Level | Approximate Cost |
|---|---|---|---|---|---|
| Halogen | 450–1,000 | 700–1,200 | 55–65 | Low — standard bulb swap only | $5–$20 per bulb |
| HID / Xenon | 2,000–3,000 | 2,800–3,500 | 35 | Medium — ballast inspection required | $50–$150 per bulb |
| LED | 15,000–50,000 | 2,000–4,000 | 15–30 | Low — driver circuit monitoring | $20–$200 per unit |
| Laser | 10,000+ | 10,000+ | 1–2 (laser module only) | High — professional service only | $500+ per system |
LED technology delivers the optimal balance of longevity, energy efficiency, and light output for the overwhelming majority of passenger vehicles in current use, provided the replacement unit carries ECE or SAE road-use certification and does not exceed the photometric limits specified for the vehicle's original housing design.
You should conduct a complete walk-around inspection of all exterior lights at least once per month, and additionally before any long-distance drive, after a collision of any severity, or following severe weather events that may have displaced housing components or compromised lens integrity through impact debris.
Severely oxidized lenses respond well to multi-stage restoration compounds in the majority of cases, recovering significant light transmission without requiring expensive housing replacement. Replacement becomes necessary only when the polycarbonate substrate has cracked through its depth, delaminated internally, or sustained physical impact damage that restoration polishing cannot structurally address.
Direct-fit LED replacement bulbs engineered specifically for your vehicle's OEM housing are generally safe and road-legal, provided they carry ECE or SAE road-use certification for that application. Generic high-output LED units placed in housings designed for halogen optics scatter light unpredictably, creating hazardous glare for oncoming drivers while also potentially reducing your own forward visibility despite higher rated lumen figures.
Sealed housings include deliberate ventilation ports that allow pressure equalization as internal temperatures change through heating and cooling cycles during normal operation. When these vents become blocked by debris or damaged seals allow uncontrolled ingress, moisture condenses on interior surfaces during cooling phases. Temporary condensation that clears within 30 minutes of normal operation is not a concern; persistent standing moisture indicates a failed seal or blocked vent requiring immediate professional attention.
A hyperflashing turn signal — one that blinks at twice the normal cadence rate or faster — is the most reliable early indicator of a failing or failed bulb anywhere in that circuit. Most vehicles implement this behavior through a resistance-sensitive flasher relay that detects the reduced electrical load caused by a non-functioning bulb and increases flash frequency as an intentional driver alert mechanism built into the system design.
 |
 |
 |
 |

About Liz Gonzales
Liz Gonzales grew up surrounded by art and design in a New York suburb, with both parents teaching studio arts at the State University of New York. That environment sharpened her eye for aesthetics and spatial detail — skills she now applies to evaluating home products where form and function both matter. She has spent the past several years writing about lighting, home decor accessories, and outdoor living gear, with a particular focus on how products perform in real residential settings rather than showrooms. At Linea, she covers lighting fixtures and bulb reviews, outdoor and patio gear, and general home product comparisons.
You can Get FREE Gifts. Furthermore, Free Items here. Disable Ad Blocker to receive them all.
Once done, hit anything below
|
|
|
|